Raise your hand if you love trays or anything that allows you to compartmentalize your craft supplies! ME TOO, I’m a self-professed organized craft hoarder. I love it so much, that I may have hugged a department store employee [who was a complete stranger] from pure excitement because she was helping me re-organize my home. Please tell me I’m not alone!
The thought of creating a craft that incorporates my love for trays plus the visual inspiration of summiting life’s peaks seems like a winning project.
I’m ecstatic to show you how to create your own Mountains are Calling Tray. When you’re done, you’ll have a spot to keep all your craft supplies plus a little bling connected to a plethora of motivation.
Below are the written instructions, if you prefer to watch the LIVE Instagram Video, check out the Maker Monday recording @TheLindaLarsen
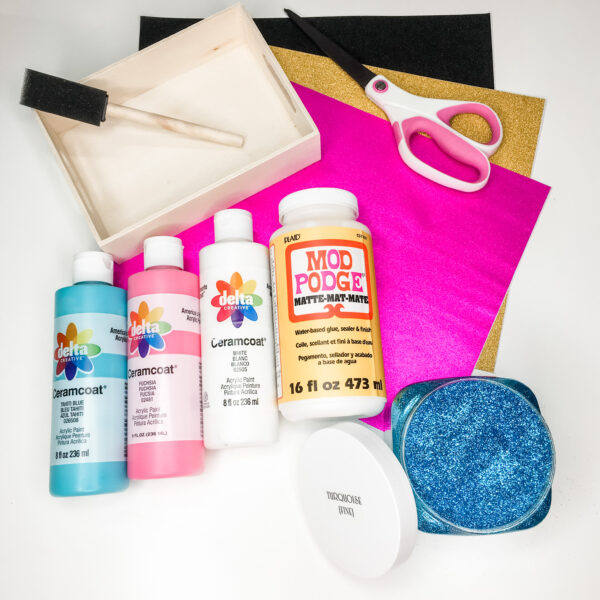
Here’s the checklist of items you need for this craft (links shared are not affiliate links):
Step 1:
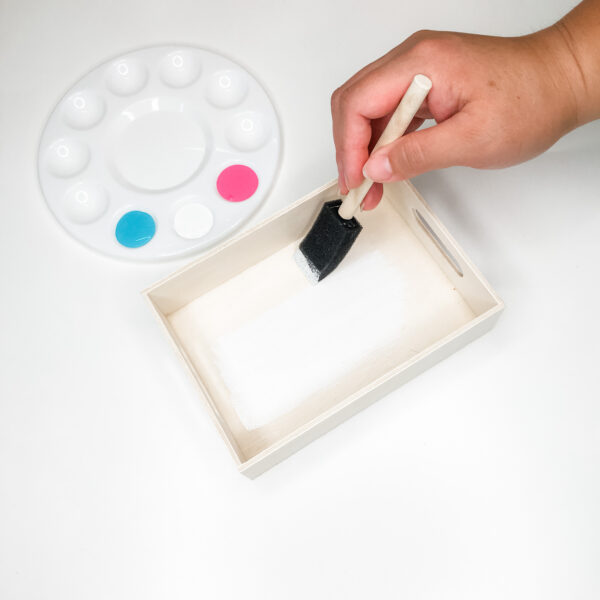
Paint the entire tray a base color, mine is white. Make your strokes in the direction of the grain to help the paint soak into the wood.
Step 2:
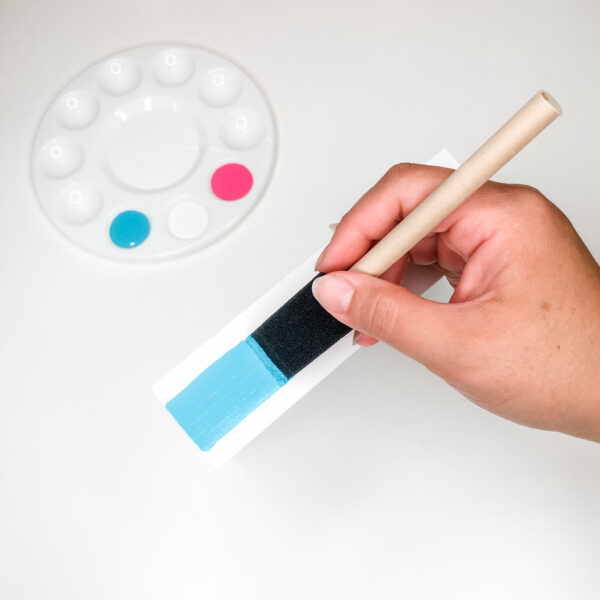
Using another color, add accents to your tray. I’m using Tahiti Blue and gently gliding the foam brush flat across the front to make a line.
Step 3:
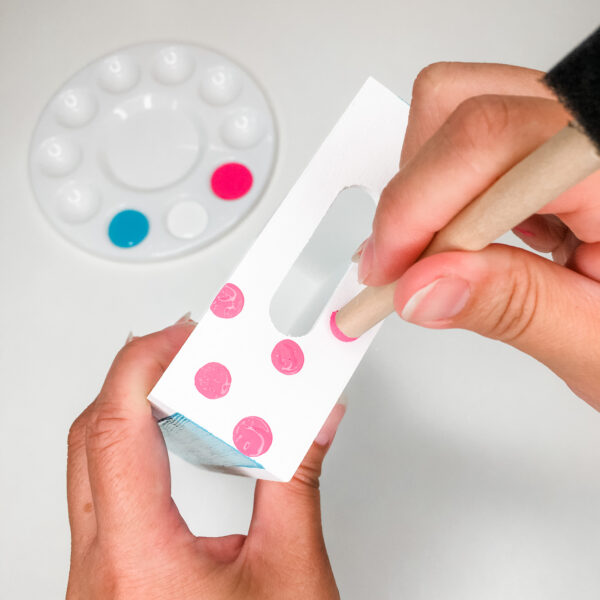
With the back of the foam brush, you can also dip the stick into the paint to make perfect polka dots!
Step 4:
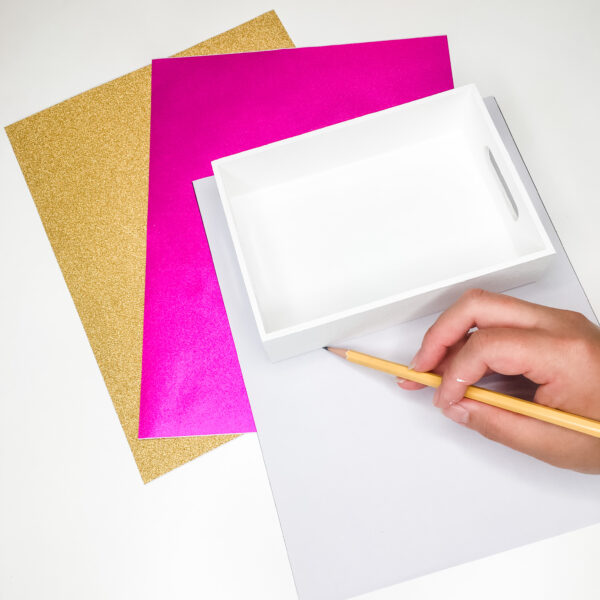
After your tray is dry, on the back of the glitter paper, trace the size of the tray. Cut this rectangle out to use as a guide.
Step 5:
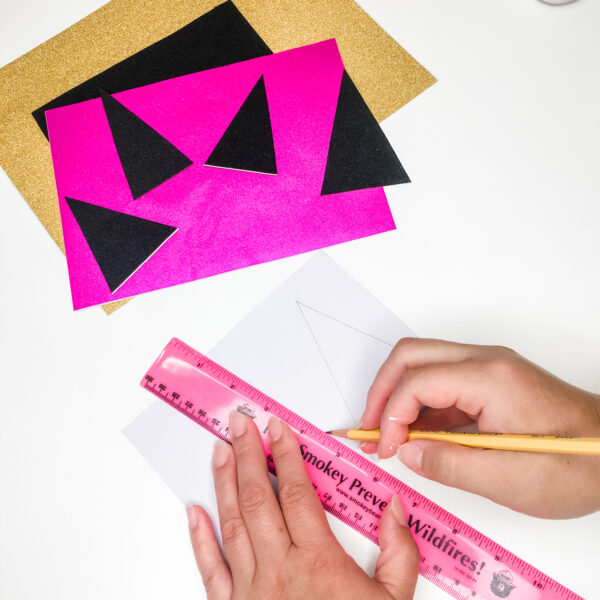
Using a ruler, draw triangles in your rectangle. There is no right or wrong way to do it, the more random the size the better! Cut out the triangles.
Step 6:
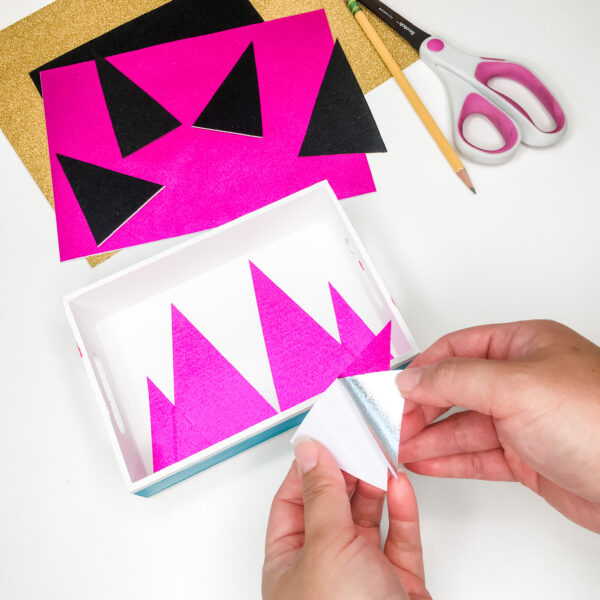
Remove the sticker backing on each glitter triangle and stick it to the tray.
Step 7:
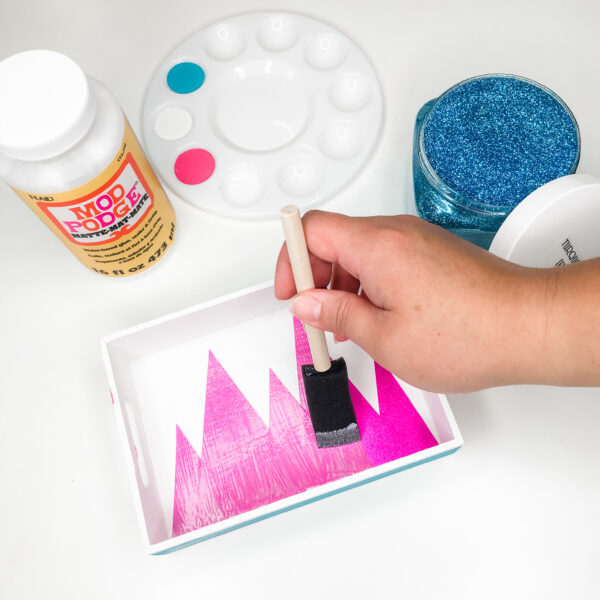
Using the foam brush, coat a thin layer of Mod Podge on top of the glitter paper. Make sure to stroke from the base of the triangle up towards the point. This will prevent the mountain peaks from lifting.
Step 8:
While the Mod Podge is still wet, sprinkle with glitter. Once the Mod Podge is fully dry, add another top coat of Mod Podge to seal the glitter.
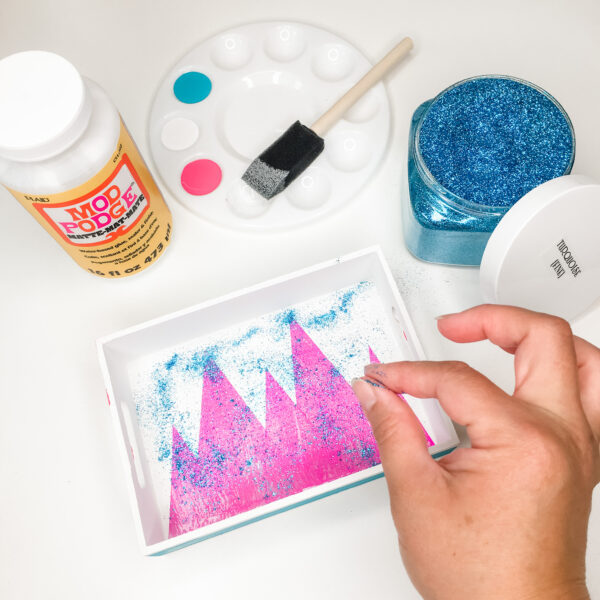
Now that you’ve mastered the steps, think of the possibilities…you could make a tray with any design. Even keep it completely white with black mountains for a farmhouse look, the options are endless!
To learn the inspirational message behind this craft, check out this post: A Daily Dose of Tetons.
If you made this craft make sure to tag @ADashofAdorable and @TheLindaLarsen, we’d love to share your masterpiece in our stories!
Happy Crafting!
XOXO,

Linda Larsen
Chief Glitter Officer
Want to watch the IG Live Crafting session instead?
Watch the Mountains are Calling LIVE tutorial for more tips and tricks. Make sure to join us @TheLindaLarsen for weekly Maker Mondays and daily motivation quotes.







Leave A Comment