The nostalgia of tie dye takes us back to grade school! Chatting with friends and giggling uncontrollably while covering our fingers in every color of the rainbow! This activity shouts summer fun and will win the hearts of crafters age 1 to 99!
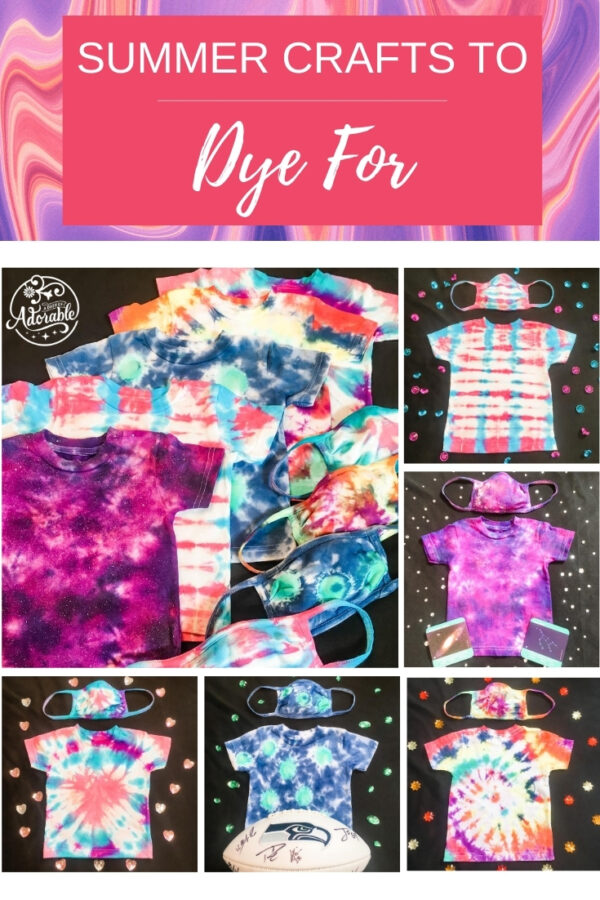
Addiction warning: once you create your first tie dye, you’ll search for more things to jazz up with color! White objects are not safe in your universe anymore!
Before we start, we owe a huge thanks to the Eventions Team for partnering with us to create this Crafternoon tutorial for #SummerOfOne Activities. Instead of reading how to make all these amazing designs, watch LIVE on Instagram, Wednesday, August 19th at 12PM (PST) @MicrosoftCommons. We’ll be taking over their account to show you the art of tie dye!
Supplies
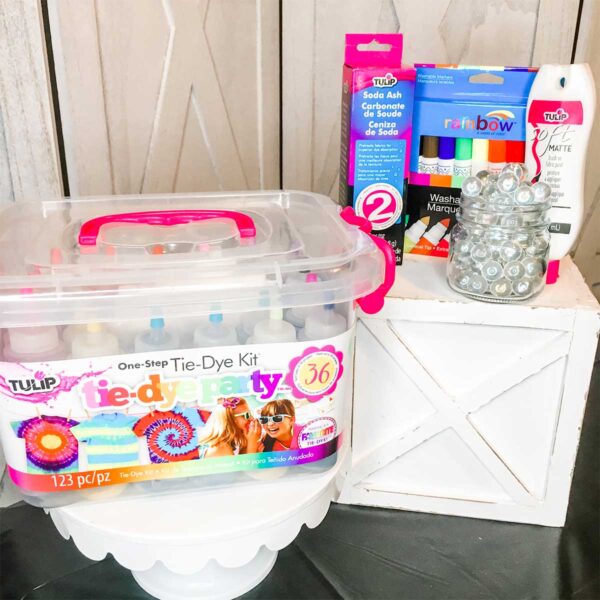
- Tulip One-Step Tie-Dye Party Kit
- Soda Ash (optional – but super helpful in preserving colors)
- White 100% Cotton T-shirts (or…cotton masks, pillowcases, shoes, anything!)
- Gallon Ziploc Bags and/or Saran Wrap
- Depending on the design you create you may also need:
- Washable markers, marbles, white paint, toothbrush, more purple and red dye (see details below)
Please note: supply links are not affiliates, we just love the simplicity of Tulip One-Step Tie-Dye Party Kit. If you buy another brand, please make sure to follow the instructions on the package for proper dye steps. Also, if you don’t buy a kit, you’ll need to purchase these additional supplies separately: tablecloth, gloves, rubber bands, bucket, and dye colors.
Prepare to Dye
- Before craft day, wash all items with HOT water and dry ahead to time to remove oil and sizing. Do not use fabric softener or dryer sheets.
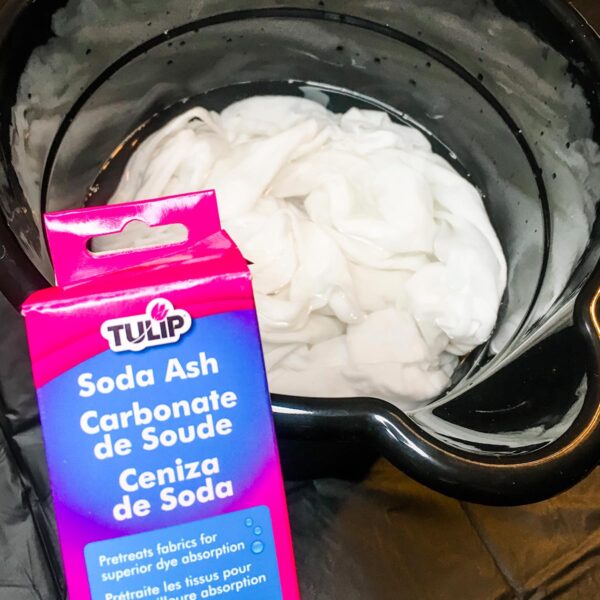
- If you have soda ash, after you’ve washed your shirt, soak it in a gallon of water and soda ash for at least 20 mins before dyeing. If you don’t use soda ash, make sure the shirt is damp and wrung out before you apply dye. Wear gloves in this step because soda ash can irritate the skin.
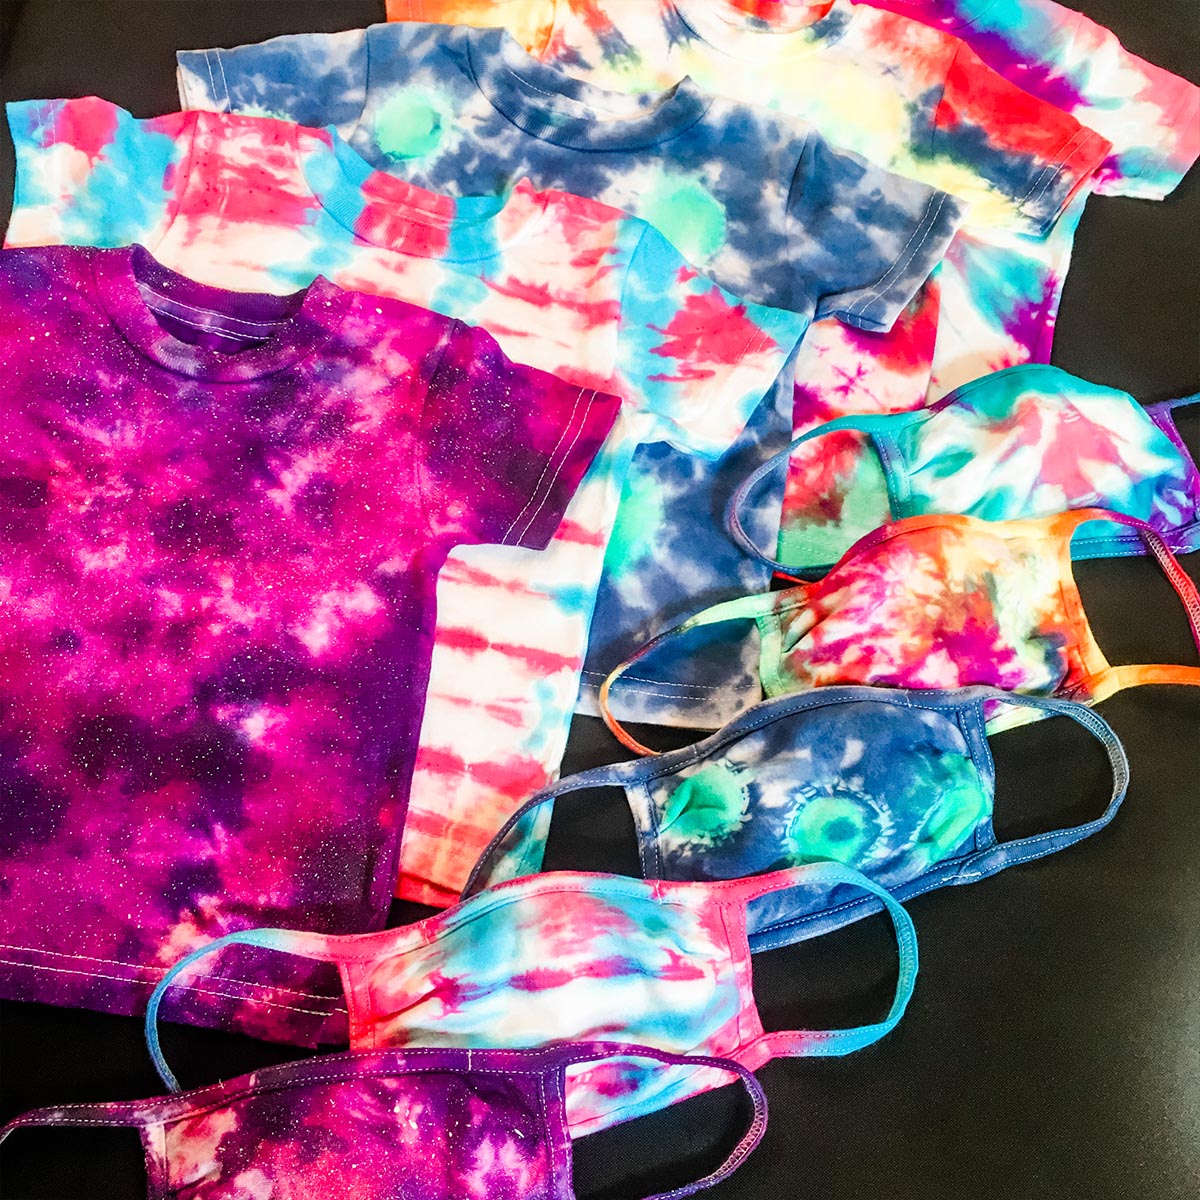
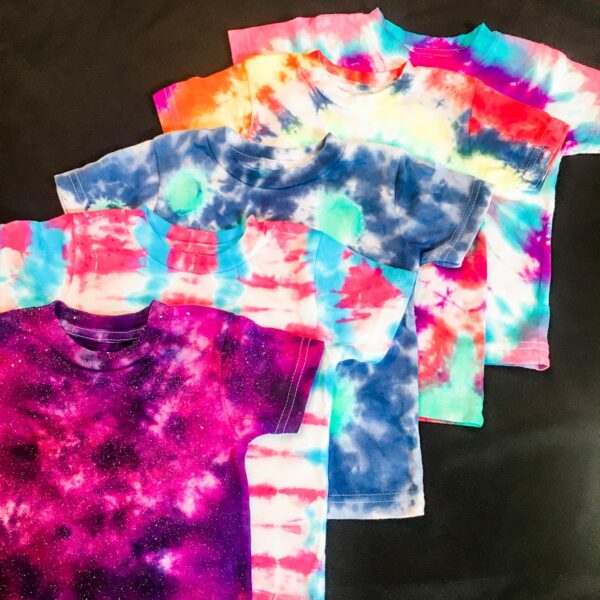
Below are different designs we created with one kit. Remember, you are the artist and the “Master” of your masterpiece! Feel free to follow along or create your own work of tie dye art. And of course, we had to name our designs with sparkly titles! Would you expect anything less from a Chief Glitter Officer?
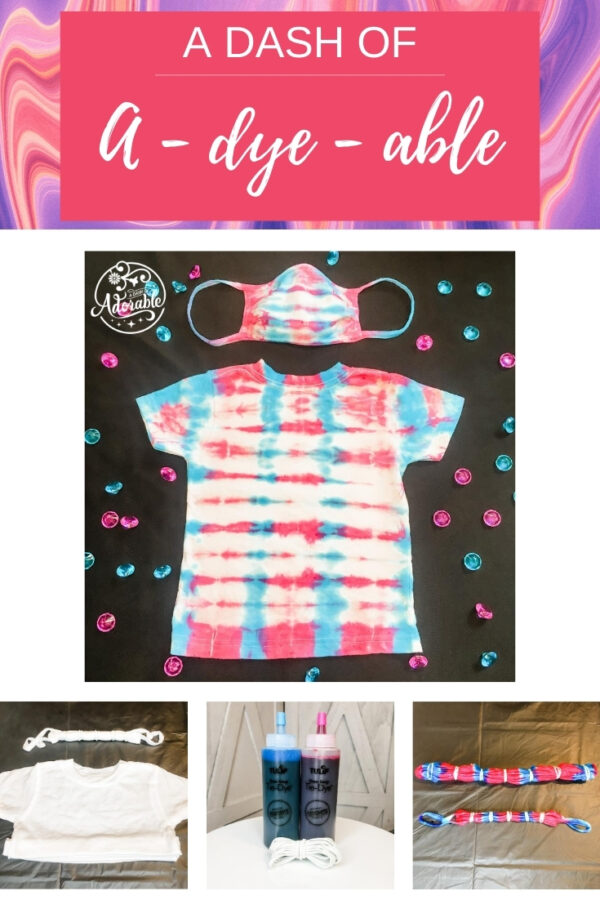
Supplies for A Dash of A-dye-able
- Dyes (in kit)
- Fuchsia
- Turquoise
- Rubber bands (in kit)
- Technique: fan-folding/stripes tie dye
Lay your damp shirt out flat. Starting at the bottom fold back and forth like a fan until you have a skinny strip. Tie rubber bands along the lines. With gloves on, apply the fuchsia and turquoise dye in a stripe pattern. Don’t forget to flip and dye the backside too.
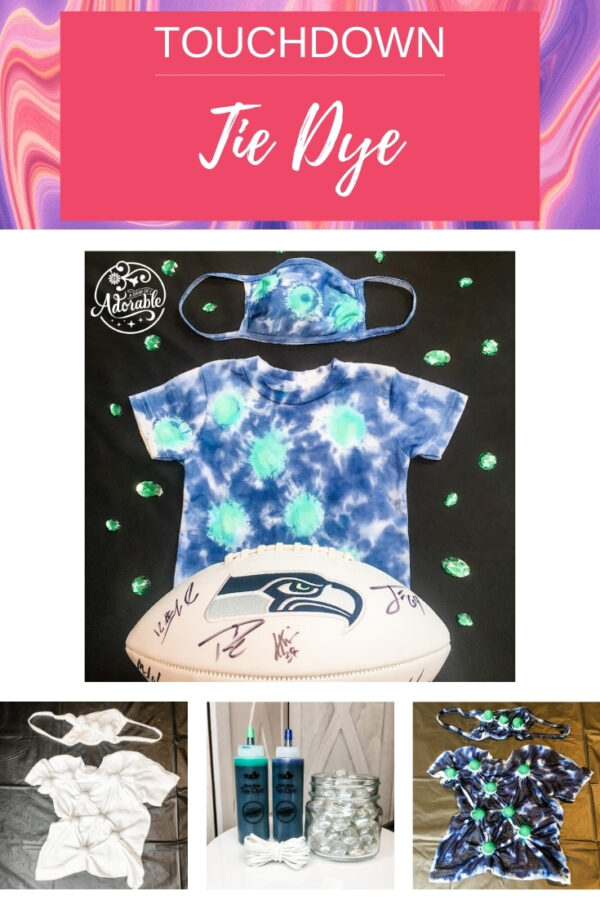
Supplies for Touchdown Tie Dye
- Dyes (in kit)
- Blue
- Green
- Rubber bands (in kit)
- Marbles
- Technique: marble circle-burst tie dye
Lay your damp shirt out flat. From the back of the shirt, place marbles in different areas under the shirt. Tie the marbles from the front of the shirt with rubber bands. With gloves on, apply green dye on the tied circles, use the blue dye in different areas all around the shirt. Don’t forget to flip and dye the backside with blue only.
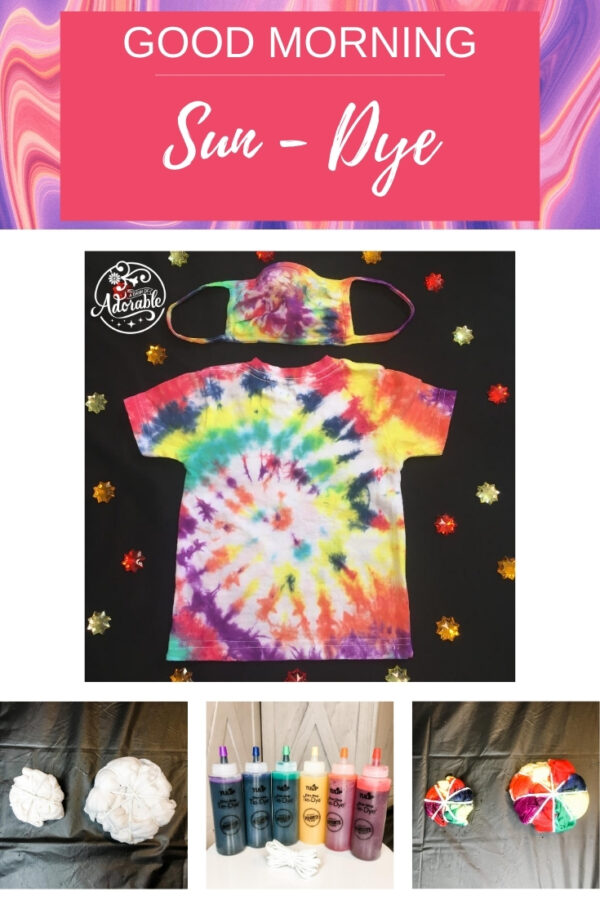
Supplies for Good Morning Sun-Dye
- Dyes (in kit)
- Purple
- Blue
- Green
- Yellow
- Orange
- Red
- Rubber bands (in kit)
- Technique: the epic twisting/spiral (king design of all tie dyes)
Lay your damp shirt out flat. At the front center of the shirt, pinch both sides together and start twisting in a spiral pattern. Keep twisting until the shirt makes a circle. Take your rubber bands and wrap them around the entire circle in opposite directions. Imagine a pizza pie tie dye! With gloves on, apply the different dye colors in any pattern you like between each wedge! Don’t forget to flip and dye the backside too.
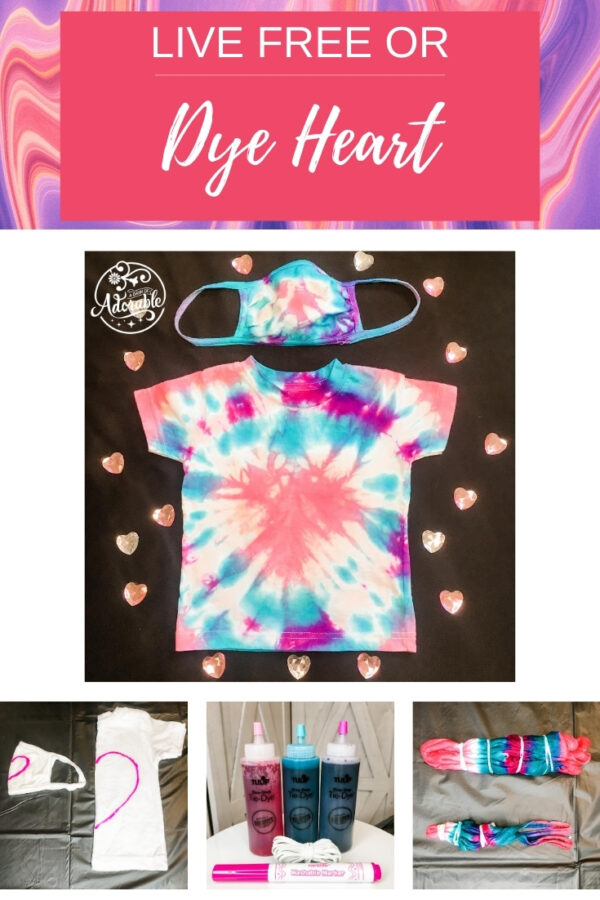
Supplies for Live Free, Dye Heart
- Dyes (in kit)
- Pink
- Violet
- Teal
- Rubber bands (in kit)
- Washable Marker
- Technique: fan folding shapes
Fold the the back sides of your damp shirt together. Using a washable marker, draw out half a heart on the fold. From the bottom point of the heart, fan-fold the shirt following the line of the heart. Tie a rubber band tightly on the heart line. Add more rubber bands for stripes. With gloves on, apply pink dye to the heart area, and rotate teal and purple till the end. Finishing off with more pink at the tip. Don’t forget to flip and dye the backside too.
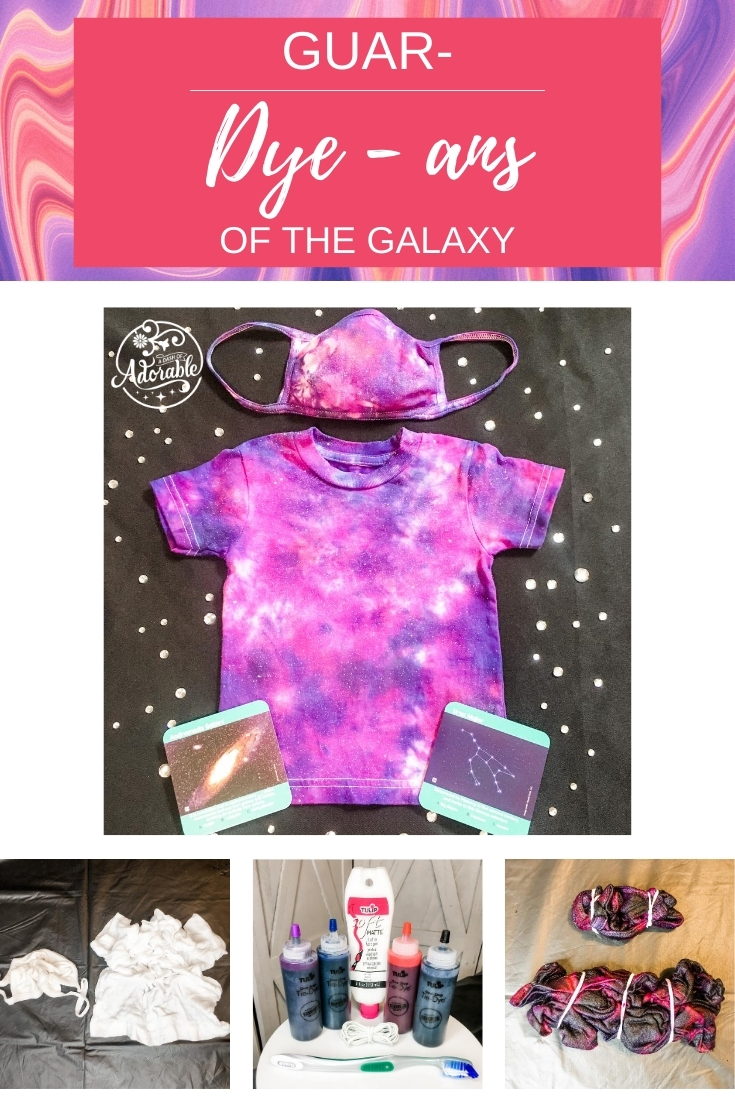
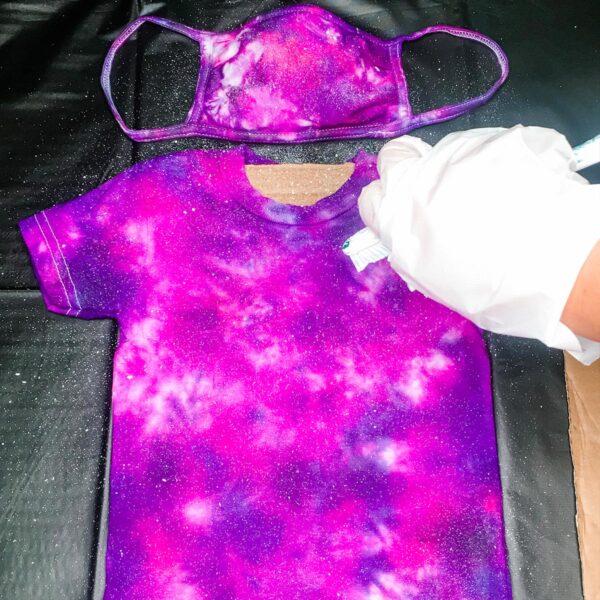
Supplies for Guar-dye-ans of the Galaxy
- Dyes (in kit)
- Purple
- Red
- Blue
- Black
- Rubber bands (in kit)
- White Fabric Paint
- Toothbrush
- Cardboard
Lay your damp shirt out flat. Scrunch fabric together towards the center in little bunches until it makes a scrunched up rectangle. Tie rubber bands to hold the shape together. With gloves on, first add red dye in random spots all over the shirt making sure to squirt into the folds. Next add purple all over and overlap parts of the red. Don’t hold back – the goal is to take a white shirt almost completely dark – the more purple the better. Next use the blue and black dyes sparingly. Only squirting small amounts into little spots. A little black and blue go a long way and can overtake all the other colors if used too much. Keep covering and rotating with the dyes until you can’t see any white. It also helps to squeeze the shirt a couple times so the dye soaks into the center. Don’t forget to flip and dye the backside too. Jump to the bottom of this post for the final star step.
Please Note: this technique uses almost an entire bottle of purple and red. You will need to buy more of those colors if you want to make other designs in this post.
Final Steps for All Shirts
Seal individual dyed pieces in their own plastic wrap to set. For the circular ones (spiral and galaxy) we used Ziploc bags. The more linear ones (stripes, heart, and marbles) we used saran wrap to avoid different colors of dye from touching while it sets.
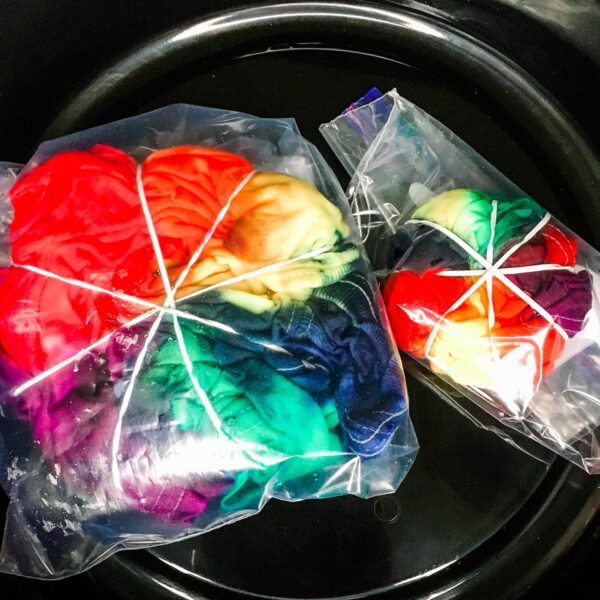
Set It and Forget It
Timing really depends on your patience, tehehehe! We recommend 6 to 24 hours. At 6 hours the colors will be lighter and since the dye hasn’t fully soaked into the fibers, you’ll see a lot more wash out during the rinse. All of these examples set for 12 hours, where our kiddos had their shirts sit for 24 hours and saw a huge a difference in absorption. You’re the artist, you decide the outcome!
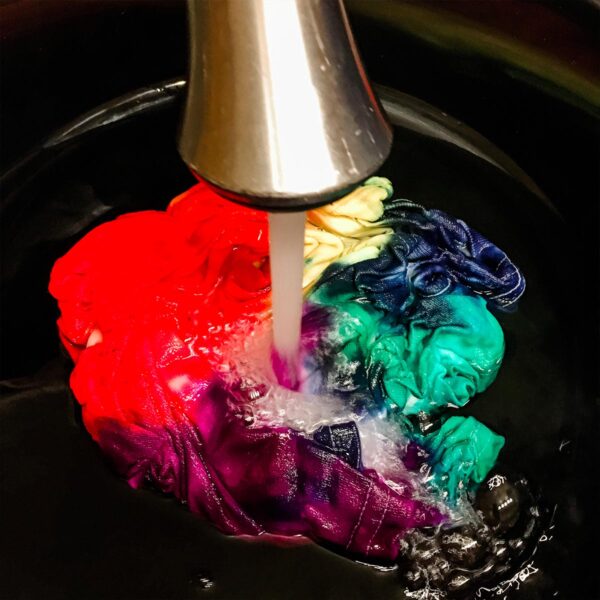
Rinse Baby Rinse
After you’ve gone bananas from waiting, put on gloves, remove the plastic wrap, carefully cut rubber bands (try to avoid cutting the shirts) and rinse in COLD water until all dye is washed out and water runs clear.
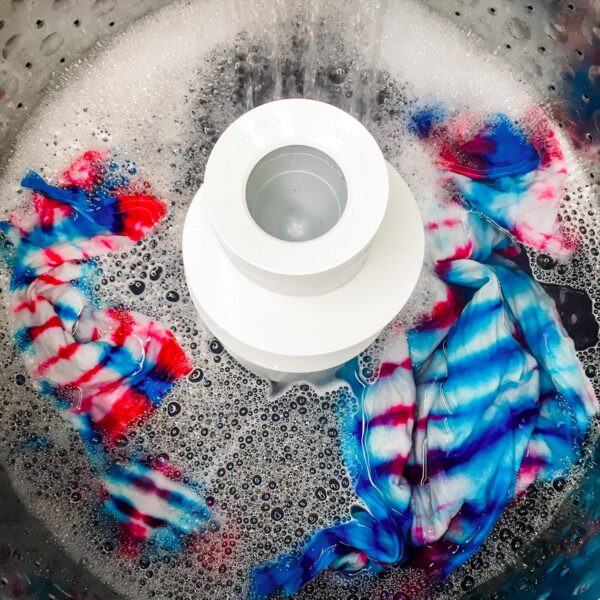
Bring the Heat
Set washing machine to HOT water and full load. Add a little amount of laundry detergent (color resistant is best). Wash shirts alone in their own cycle. You may combine more than one shirt if they’re the same color. If they’re different colors, wash separately and hang dry. To preserve the longevity of the shirt (after the first hot wash), these care instructions are best going forward: Wash inside out, cold water, hang dry.
Bonus Step for the Galaxy Shirt
After the shirt is dry, cover an area with a tablecloth (trust me, cover well, paint will splatter, you’ll be sad, and there is no crying in crafting). Insert cardboard inside the galaxy shirt to prevent the front and back from sticking together with paint. Pour the white fabric paint on a scrap cardboard or paper plate. With gloves on, dip the bristle tips (lightly) into the white paint. Hold the toothbrush bristles parallel to the shirt. Push your thumb over the bristles to flick them. This flicking motion will cause the white paint to splatter all over your shirt and appear like stars. We know, it’s magical!
Drum Roll….Ta-da!
You are done! Put on your shirts and admire your incredible work! The best part of tie dye is that you can’t mess it up. Each piece is unique and represents your individuality. So strut with confidence in your new artwork! After you snap some selfies, please give us a tag @ADashOfAdorable , we’d love to see your masterpieces! And drop a comment below – now that we’ve fed the tie dye addiction, what are you going make next?
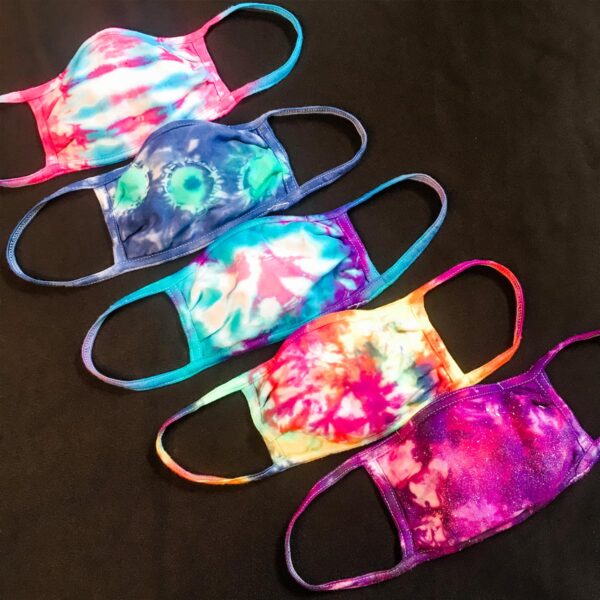
Don’t forget, we are going LIVE next Wednesday, August 19th at 1PM on @MicrosoftCommons Instagram. Our very own Chief Glitter Officer, Linda Larsen, will be getting her hands messy with all you fabulous people!


Leave A Comment